hey Guys : this is my well done Tutorial of how you can make your own phone
of course every body dreamed of the magical phone : accessoires and anything else
of course every body dreamed of the magical phone : accessoires and anything else
you can add
could you do that . well it turns out that this is very easy
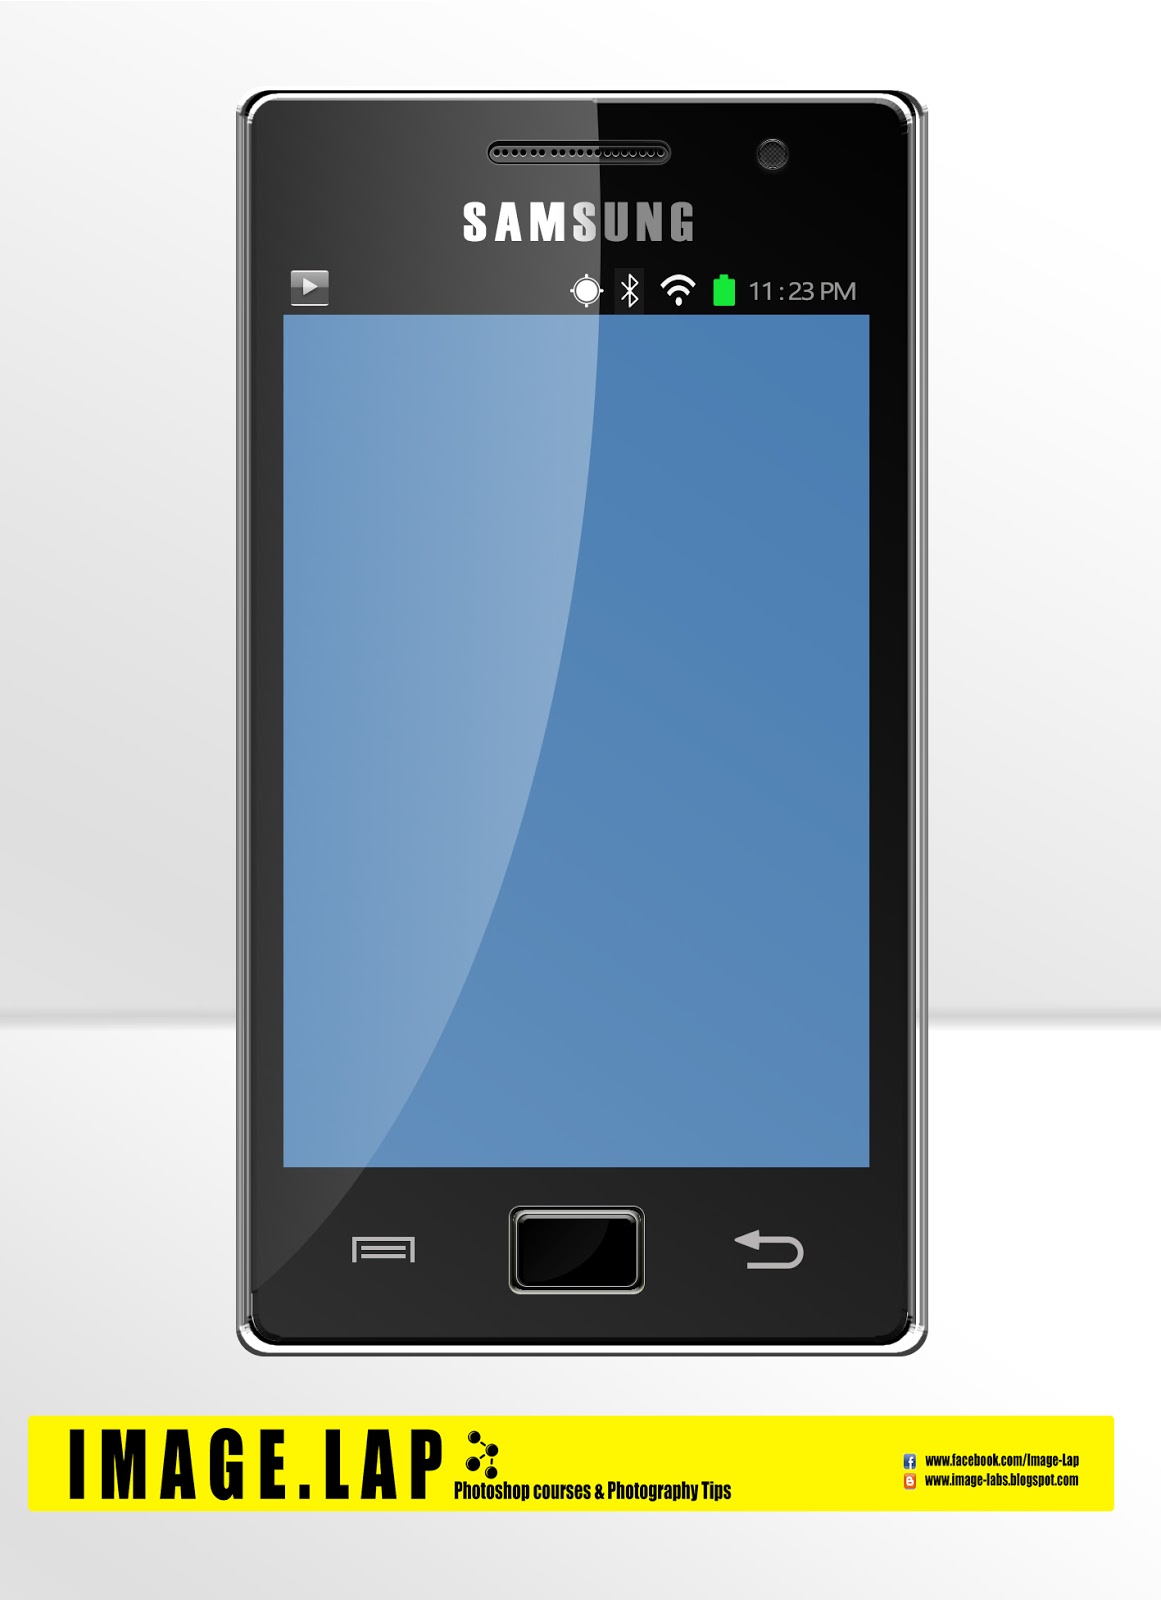
so this isnt the final result . dah!!
this is part 1
so lets start
------------------------------------------------------------------------------------------------------------
Step 1 :
Open a new image with 60 * 100 cm

Go to " view " >> then choose ruler to show it

Then pick your dimension " hint : what you will see is aplicable to anything any dimension "
and go to the upper and the side of the ruler and do like the pic

------------------------------------------------------------------------------------------------------------
Step 2 :
Now grap the " rounded rectangular " tool

like this :

that is a shape .... duplicate it : another layer:
But you will make it smaller to represent the porder
decrese its dimensions like the pic


then paint the last layer with another color
so you click on this icon
so you click on this icon

douple click may be and change the color
it will be like that

then select the layer and rasterize it and do that to the other one ,rasterize it too

then select the two layers and merge them

then choose the " quick select " tool

select the small layer and delete it


then right click on it , choose Blending Options

Then do like what the pic says

then double it too
make it smaller like what you did first
make it smaller like what you did first

then blending options and do that

that,s about two or three layer so i added to a folder "outfit".
select them and press on the folder symbol down
------------------------------------------------------------------------------------------------------------
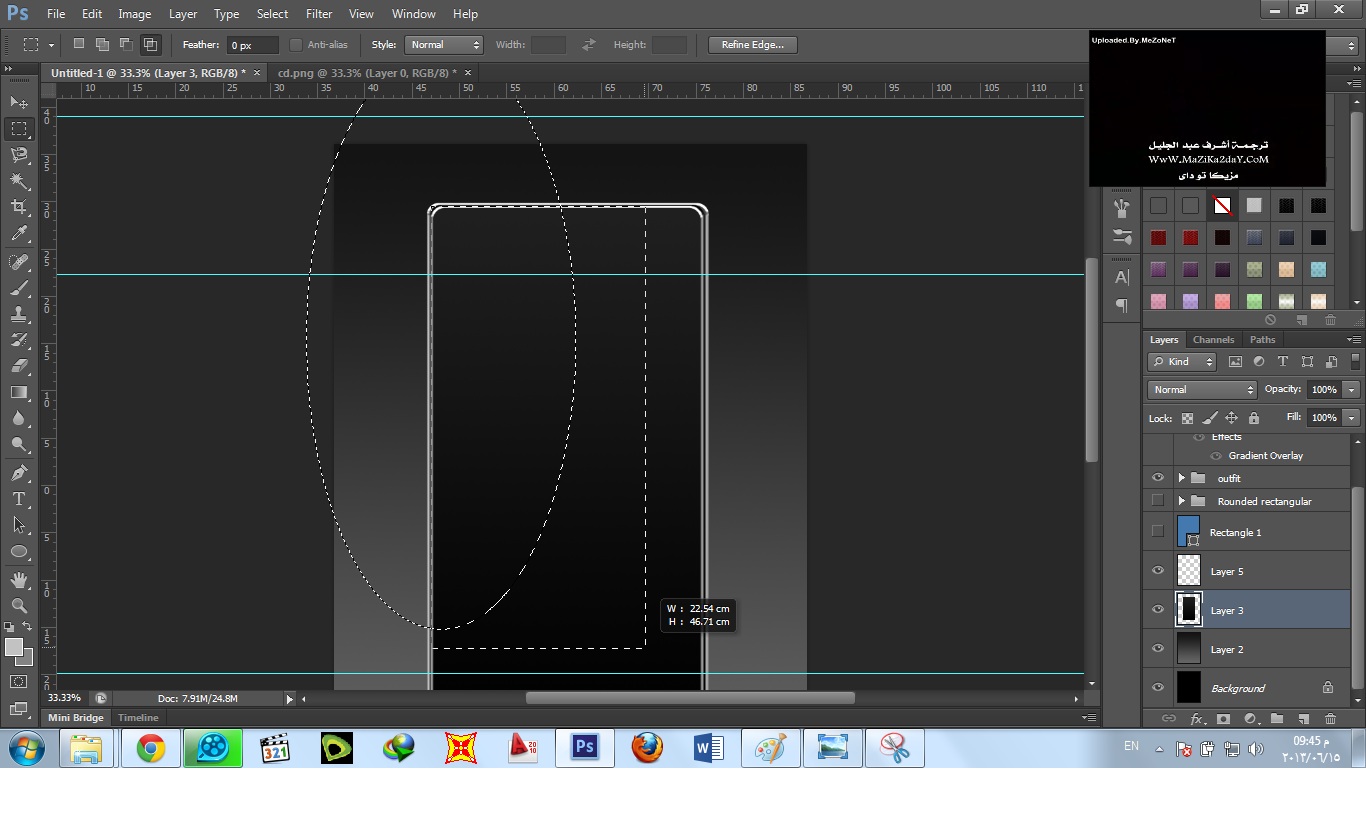
Step 3 :
make a new layer and make it beneath the other layers

now take the rectangular tool and select the outfit layers remember ?!
like the photo here
like the photo here


now select gradient tool and select black color and other lighter color
then do like the photo


then take the ruler and make lines for the screen

then from the rectangular tool make a blue screen within the borders you made


after that it will be like that

------------------------------------------------------------------------------------------------------------
Step 4 :
Now make lines by the ruler like this to make the other parts of the phone

then make a rounded rectangilar in the top of the phone like that

then make these blending options


then make some circles " small ones "
and arrange it like that


Now from text tool write the company label if there is , ofcourse at the top of the phone

and from blending options make the folowing

------------------------------------------------------------------------------------------------------------
Step 5 :
Remember the old layer we made :
that one !
that one !

yeah select it after you hide the blue screen
then choose the circle marquee tool and make a circle like that
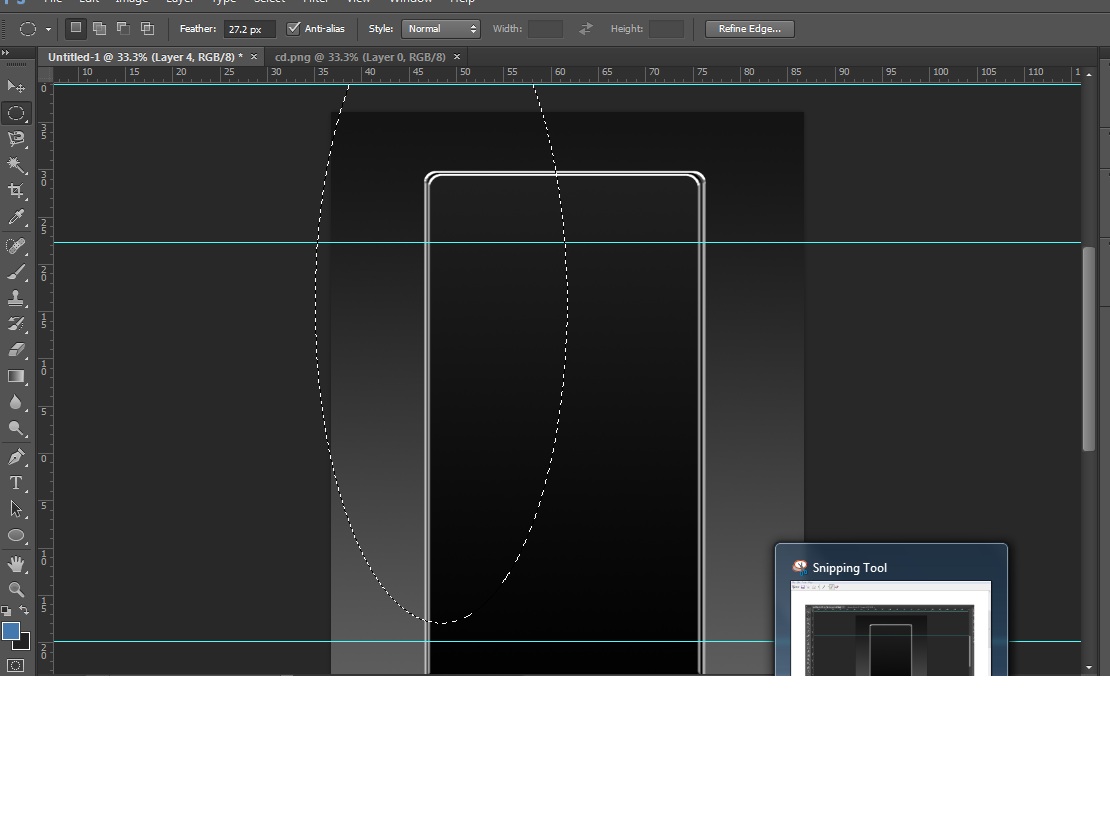
but before that remember to make the feather to zero

and choose " intersect with selection "
like that

after you choose the rectangular
you make a rectangle around the border of the phone
like that
that will be the result

from the gradient tool make a gradient like below then CTRL + Delete

Now show all your layers back
and type the clock

and by the rounded rectangular make


so every thing is easier to handle with the shapes so any thing else i will just show the photos only
now put the Wi-Fi symbol
you can find these symbol here

or you can design them


------------------------------------------------------------------------------------------------------------
Step 6 :
now we head to make the media symbol
make a rectangle in the left side like that

and duplicate it but reduce the height of the new one like that

from the " blending options "
do like that

now from shapes make a triangle shape and make these settings

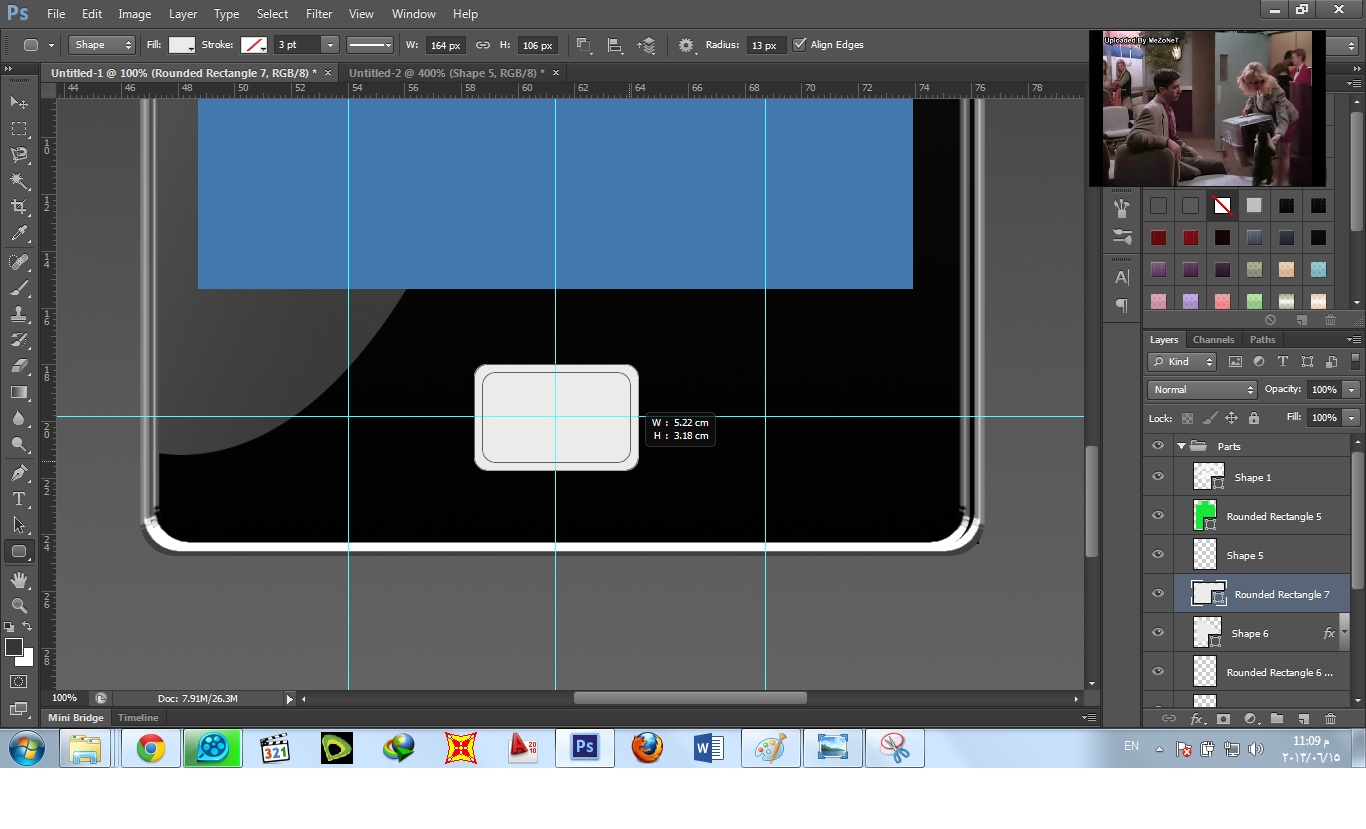
Now head for the bottom and mark the locations of the buttons parts

first in the middle make a rectangle like that

remeber what we did at the first thing ?! to the outfit??
we are gonna do it again
first duplicate it and reduce its dimensions
then rasterize and merge them
get the quik selection and delete the inner layer of course after you change its color
like that::

then apply this

Now make this symbol

and add it here

then make the arrow and place it down there

then make a circle then apply the plendig options like that


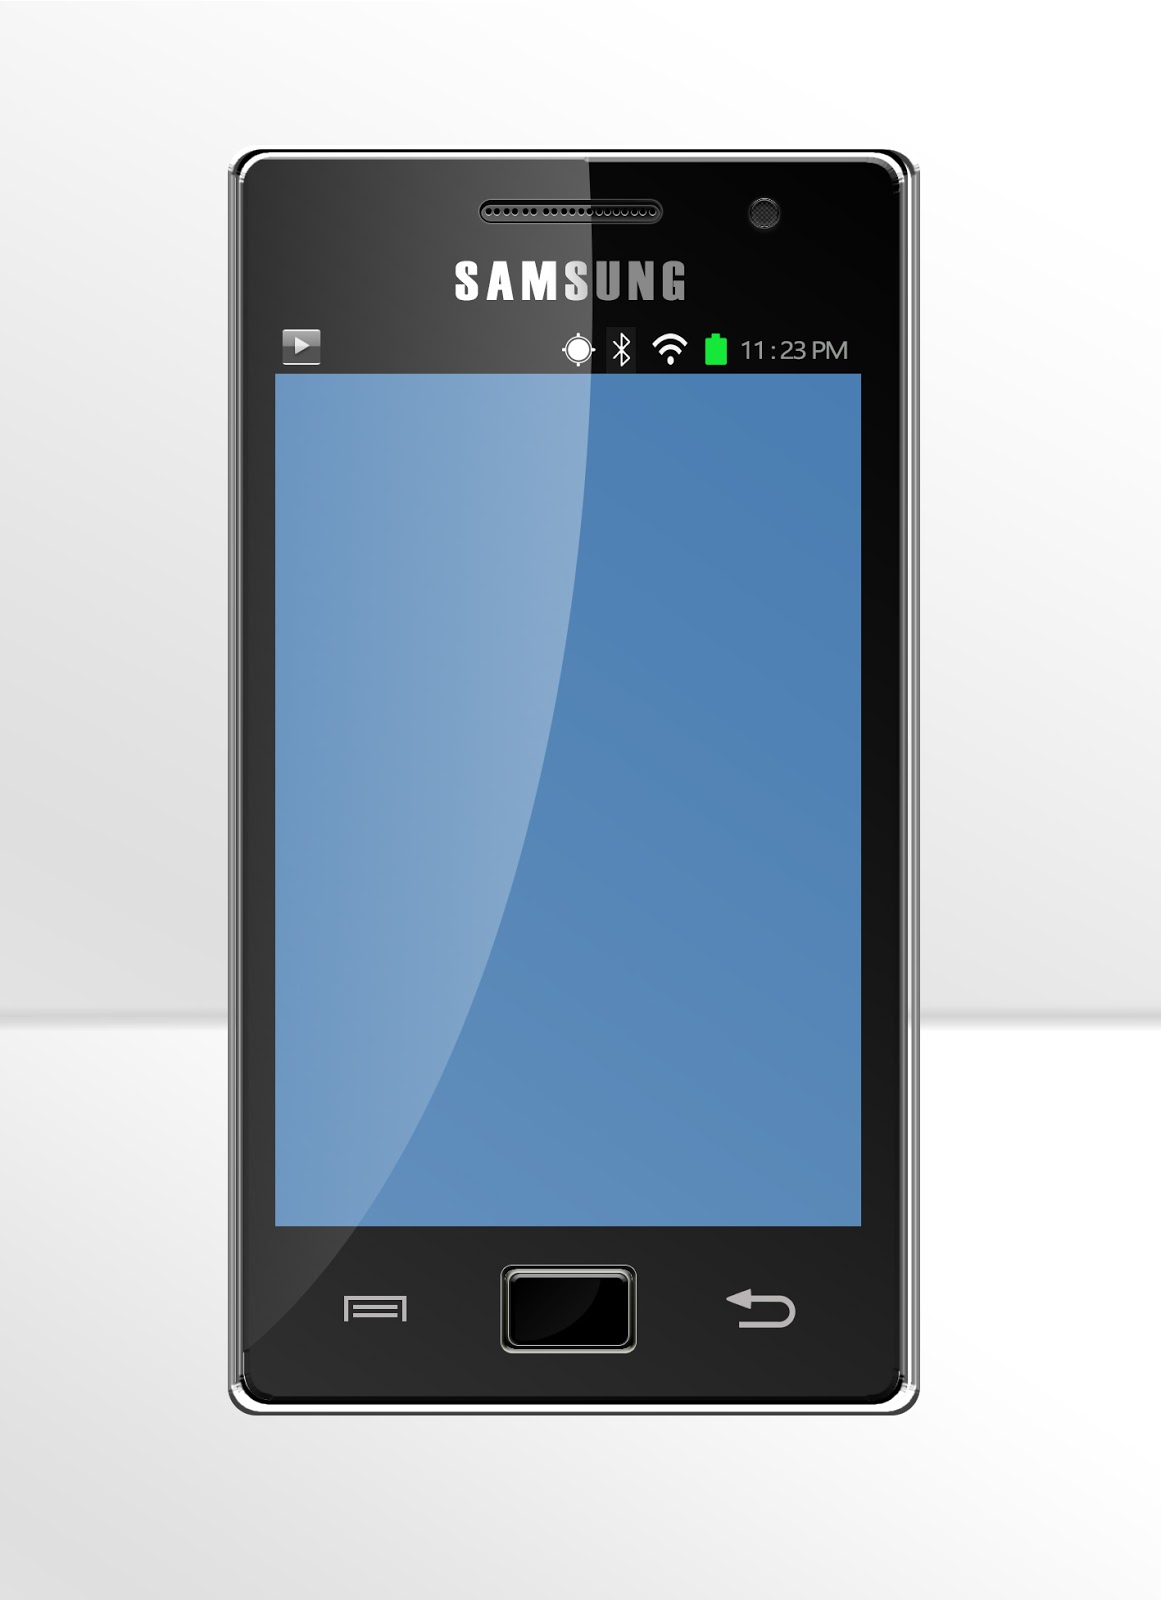
And that is the answer for Part 1


0 Comments:
Post a Comment
Dont be afraid to add a comment. I will respond , I promise